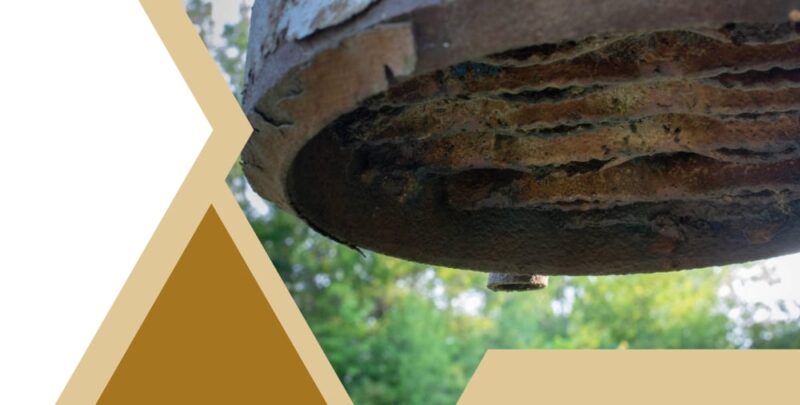
Imagine this: you’ve fired up your gas grill for an outdoor barbecue with friends and family, but there’s a problem. You’ve discovered a hole in the bottom of your grill.
Panic sets in, but don’t worry! We’ve got you covered. In this comprehensive article, we will guide you through five easy steps to fix that hole and get your grill back in action. So, without further ado, let’s dive into the world of gas grill repair!
Before we begin, it’s important to note that safety is always a top priority. Make sure to turn off and disconnect the propane tank from your grill, and let the grill cool down before you start working on it. With these precautions in place, let’s explore the simple steps to fixing a hole in the bottom of your gas grill.
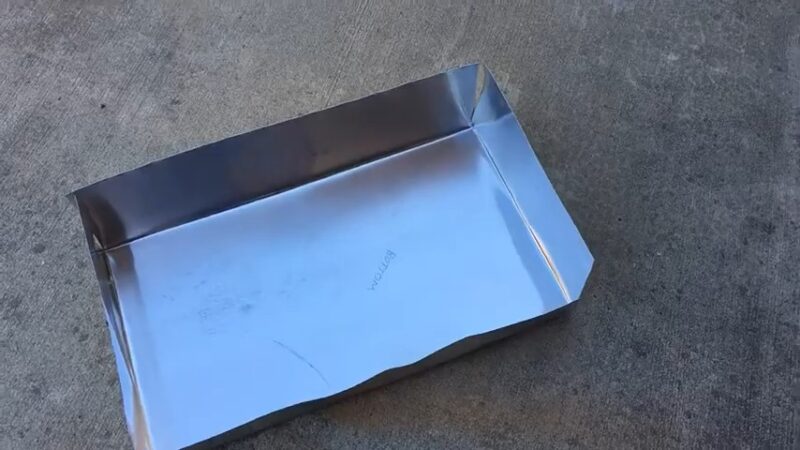
Step 1: Assess the Damage
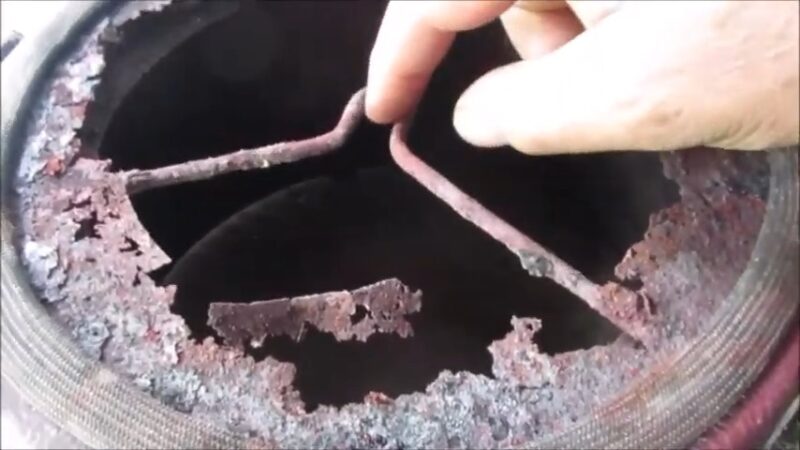
First and foremost, you need to determine the extent of the damage. This will help you decide if it’s something you can fix yourself or if you need professional help. Inspect the hole thoroughly to understand its size and location. If the hole is small and confined to a non-critical area, it can typically be fixed without much difficulty. However, if it’s in a vital area like the burner or the gas line, you may need to consult a professional for a proper repair.
Step 2: Gather Your Tools and Materials
Once you’ve determined that the hole can be fixed, gather the necessary tools and materials for the job. Here’s a list of what you’ll need:
- Wire brush
- Sandpaper (80 to 120 grit)
- Heat-resistant epoxy or high-temperature JB Weld
- A putty knife or spatula
- A clean, dry cloth
- A disposable container for mixing the epoxy
- Protective gloves
- Safety goggles
You can find these materials at your local hardware store or online. Make sure to choose a heat-resistant epoxy specifically designed for metal repairs, as standard epoxy may not withstand the high temperatures of a gas grill.
Step 3: Prep the Surface
Before you start fixing the hole, you need to prepare the surface. This will ensure that the epoxy adheres properly and creates a strong bond. Follow these steps to prep the surface:
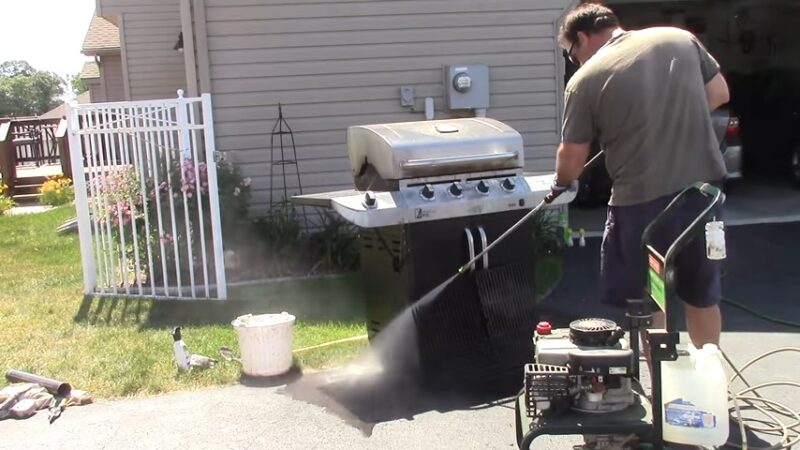
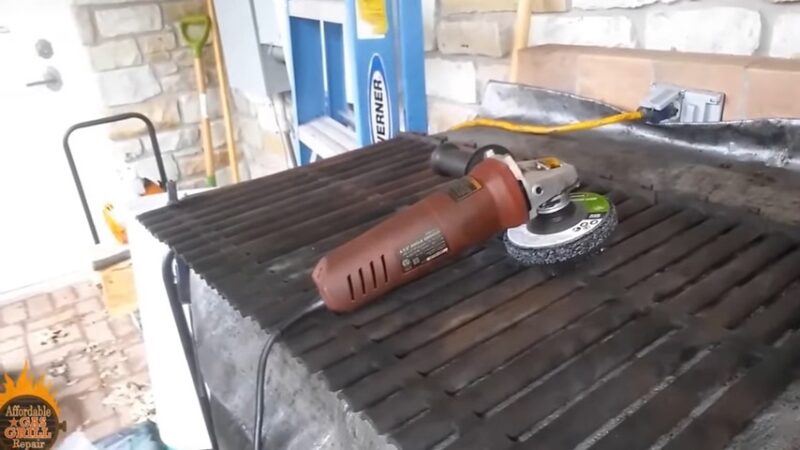
- Remove any loose debris, rust, or flaking paint from the area around the hole using a wire brush. Be thorough, as a clean surface is crucial for a strong repair.
- Use sandpaper to roughen the surface around the hole. This will help the epoxy adhere better. Sand the area until you see bare metal, and make sure to sand a couple of inches beyond the hole’s edges.
- After sanding, wipe the area with a clean, dry cloth to remove any dust or debris.
Step 4: Apply the Epoxy
Now that the surface is prepared, it’s time to apply the heat-resistant epoxy. Follow these steps for a successful application:
- Put on your protective gloves and safety goggles.
- Mix the epoxy according to the manufacturer’s instructions in the disposable container. Ensure that it’s thoroughly mixed for optimal performance.
- Apply a generous amount of epoxy to the putty knife or spatula, and spread it evenly over the hole and the surrounding area. Make sure to cover the entire hole and extend the epoxy a few inches beyond the edges. This will create a strong, durable repair.
- Smooth out the epoxy using the putty knife, ensuring there are no air bubbles or gaps. The smoother the surface, the better the final result.
- Allow the epoxy to cure according to the manufacturer’s instructions. This can vary from a few hours to a full day, depending on the product. Be patient and don’t rush the process, as a proper cure is essential for a long-lasting repair.
Step 5: Inspect and Test the Repair
- Once the epoxy has fully cured, it’s time to inspect your handiwork and test the repair. Follow these steps to ensure the success of your fix:
- Examine the repaired area closely. Look for any gaps or cracks in the epoxy. If you spot any, you may need to apply another layer of epoxy and let it cure before proceeding.
- Reconnect the propane tank and turn on the gas supply. Carefully check for any gas leaks around the repaired area. If you smell gas or hear a hissing sound, immediately turn off the gas supply and consult a professional.
- If there are no gas leaks, light the grill and let it heat up for a few minutes. Check the repaired area for any signs of weakness, such as bubbling or cracking. If you notice any issues, turn off the grill and let it cool down before attempting another repair.
- If the repaired area appears stable and there are no signs of gas leaks or structural issues, congratulations! You’ve successfully fixed the hole in the bottom of your gas grill.
Safety Tips
1. Disconnect the Propane Tank
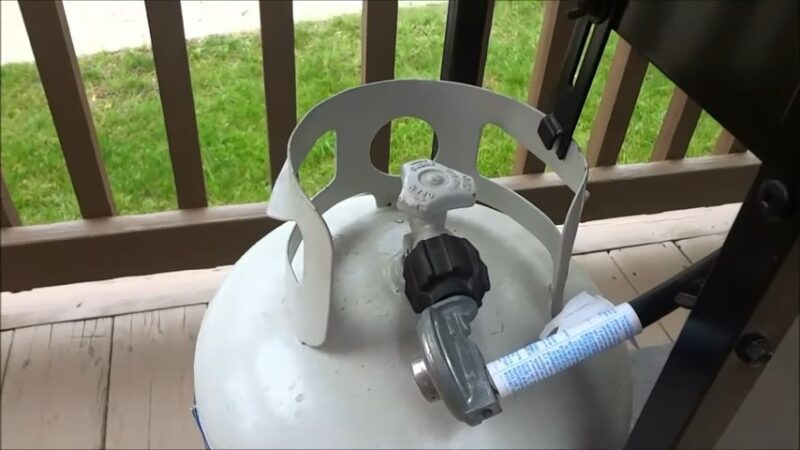
Before attempting any repairs on your gas grill, always disconnect the propane tank to eliminate the risk of gas leaks or accidental ignition. Ensure the tank’s valve is tightly closed, and then detach the hose from the grill. This simple precaution can prevent dangerous accidents and ensure your safety throughout the repair process.
2. Allow the Grill to Cool Down
If you’ve recently used your grill, it’s essential to let it cool down completely before starting any repairs. The metal components of a gas grill can remain hot for an extended period, posing a burn risk if touched. Give your grill ample time to cool down, and always test the temperature of the metal surfaces with the back of your hand before working on it.
3. Use Personal Protective Equipment (PPE)
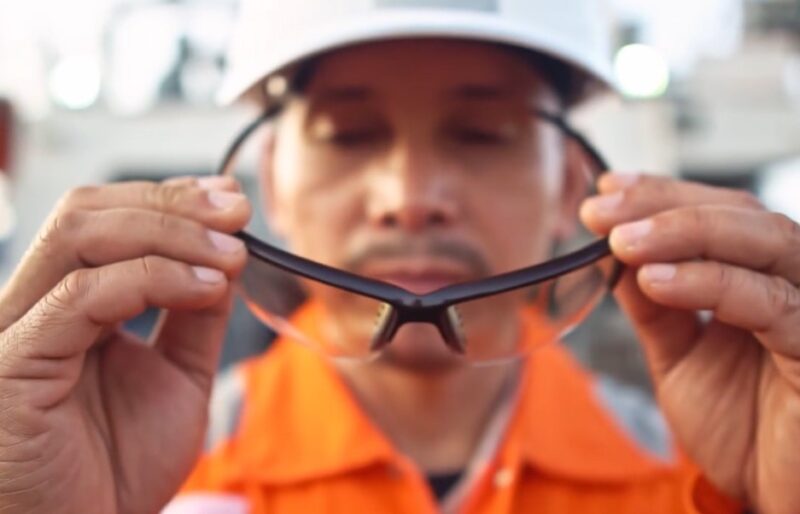
Wearing appropriate personal protective equipment (PPE) is crucial when repairing your gas grill. Protective gloves will shield your hands from sharp edges and hot surfaces, while safety goggles will protect your eyes from dust and debris. Don’t take shortcuts when it comes to safety – using the proper gear can prevent injuries and make the repair process smoother.
4. Ventilate Your Workspace
Ensure that you’re working in a well-ventilated area when fixing your gas grill. Mixing and applying epoxy can release fumes that may cause dizziness, headaches, or respiratory irritation if inhaled in high concentrations. By working outdoors or in a space with proper ventilation, you can minimize your exposure to potentially harmful fumes.
5. Be Cautious with Power Tools
If you decide to use power tools during the repair process, such as a power sander or a drill, always exercise caution. Read and follow the manufacturer’s instructions, and never use a tool you’re unfamiliar with. Keep your hands clear of moving parts, and always unplug or turn off the tools when not in use.
6. Test for Gas Leaks
After completing the repair, always test your grill for gas leaks before using it. A gas leak can lead to a fire or explosion, so it’s crucial to ensure the integrity of your repair. You can test for leaks by applying a soapy water solution to the repaired area and turning on the gas supply. If you see bubbles forming, this indicates a leak, and you should turn off the gas and consult a professional.
Final Words
Fixing a hole in the bottom of a gas grill may seem daunting, but with the right tools, materials, and patience, it’s a task that can be easily accomplished. By following these five simple steps, you’ll be able to repair your grill and get back to hosting those memorable backyard barbecues in no time. Just remember to always prioritize safety and consult a professional if you’re unsure about any aspect of the repair process.