The world of culinary arts is vast and varied, with countless techniques that cater to different tastes and preferences. One such technique, which has gained significant popularity among barbecue enthusiasts, is reverse searing. This method is ideal for those who appreciate a tender, juicy steak with a beautiful crust that’s cooked to perfection. And what better way to achieve this than by using your trusty backyard apparatus? In this blog post, we will delve into the intricacies of reverse searing, exploring the steps you need to follow to master this technique and impress your friends and family.
The Basics
The reverse sear method comprises two primary steps. First, you cook the meat at a low temperature until it reaches the desired internal temperature. Then, you finish it off with a high-heat sear to create that mouthwatering crust. This technique works wonders for thicker cuts of meat, ensuring consistent doneness throughout the entire piece. Say goodbye to unevenly cooked steaks, and prepare to be wowed by the delectable results.
Equipment Essentials for Reverse Searing
To achieve the perfect reverse sear, you will need the following equipment:
- Your backyard apparatus
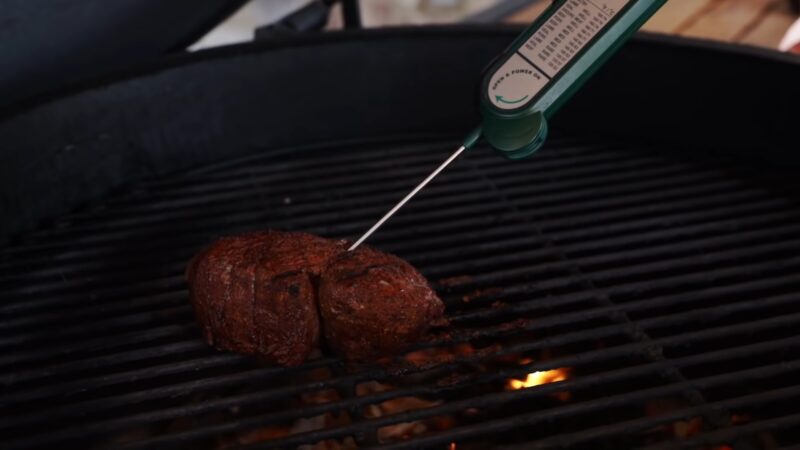
- A reliable digital meat thermometer
- A set of heat-resistant gloves
- Tongs
- A clean cutting board
- A resting rack (optional)
The Perfect Cut: Choosing the Right Meat
The ideal cut for reverse searing is a thick one. You’ll want to choose a piece that’s at least 1.5 inches thick and boasts a beautiful marbling. Some popular cuts for this method include ribeye, New York strip, and filet mignon. Feel free to experiment with other cuts, but remember that the thickness is key to achieving the perfect reverse sear.
Prepping Your Meat
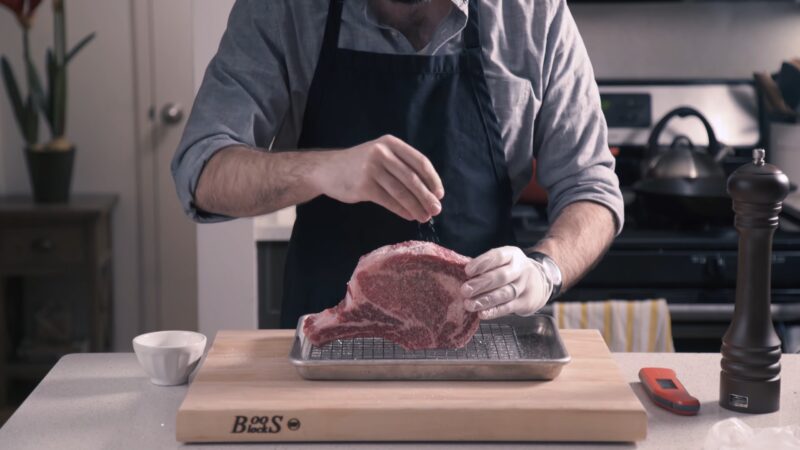
Before cooking, pat the meat dry with paper towels to remove any excess moisture. This step helps ensure a beautiful sear later on. Then, season your meat generously with your choice of spices, herbs, or a simple salt and pepper mix. Don’t be shy with the seasoning – the meat will absorb the flavors as it cooks, resulting in a more robust taste.
Temperature Matters: Setting Up Your Apparatus
To start, set up your backyard apparatus for indirect cooking. This means that you will have a hot side and a cooler side, allowing you to cook the meat at a lower temperature initially. Preheat your apparatus to 225°F (107°C), and once it has reached the desired temperature, you’re ready for the next step.
The Low and Slow Cook
Place your seasoned meat on the cooler side of the grate, away from the direct heat. Insert your digital meat thermometer into the thickest part of the meat, ensuring that it doesn’t touch any bone or fat. Close the lid and let the magic happen. Your meat should take approximately 45 minutes to an hour to reach the desired internal temperature. Here are some guidelines to follow:
- Rare: 120°F (49°C)
- Medium Rare: 130°F (54°C)
- Medium: 140°F (60°C)
- Medium Well: 150°F (65°C)
- Well Done: 160°F (71°C)
Keep in mind that these temperatures are just guidelines, and you should adjust them based on your personal preferences.
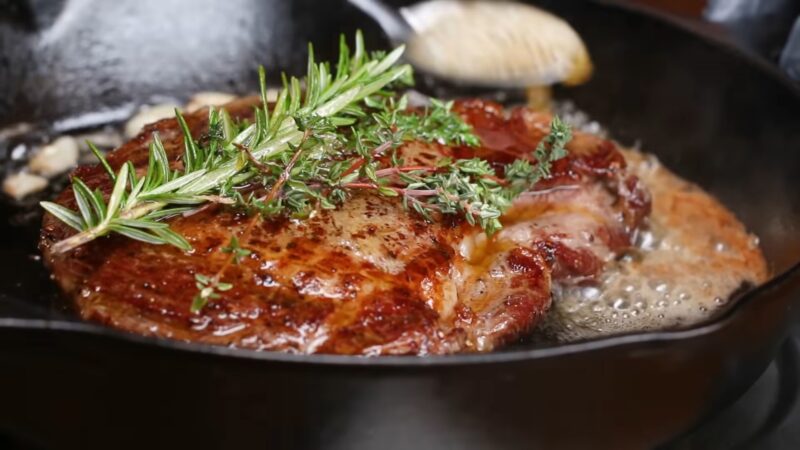
The Final Searing Touch
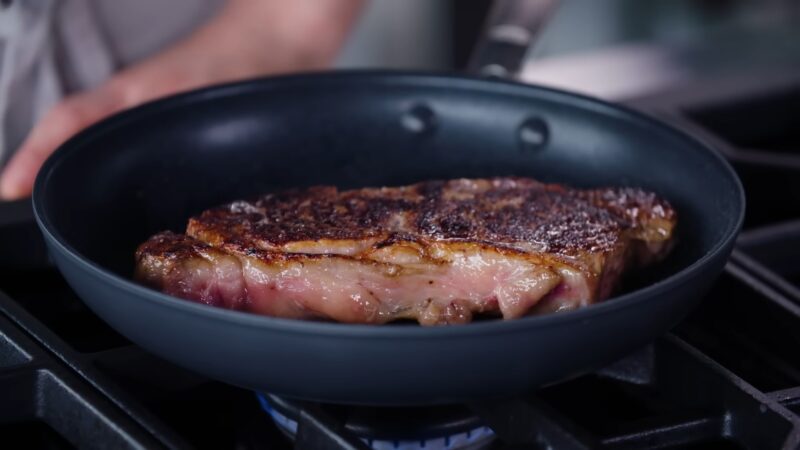
Once your meat has reached the desired internal temperature, it’s time for the pièce de résistance: the sear. Remove your meat from the apparatus and set it aside on a cutting board or resting rack. Crank up the heat on your apparatus to around 500°F (260°C) or as high as it will go.
When the temperature has reached its peak, put on your heat-resistant gloves and use your tongs to place the meat on the hot side of the grate for the final sear. Sear each side for 1-2 minutes, ensuring that you create a beautifully caramelized crust. Remember that the sear is crucial to the overall appearance and flavor of your meat, so don’t rush this step.
Letting Your Meat Rest: The Importance of Patience
After searing, remove your meat from the apparatus and place it on a cutting board or resting rack. Allow it to rest for at least 10 minutes. This step is essential because it allows the juices to redistribute throughout the meat, ensuring a tender, juicy bite every time. Don’t be tempted to cut into your masterpiece too soon; patience is key.
Troubleshooting: Common Reverse Searing Problems and Solutions
Even the most experienced grill masters can encounter hiccups during the reverse searing process. Here are some common issues and their solutions:
- Problem 1: The internal temperature isn’t rising as expected. Solution: Ensure that your apparatus maintains a consistently low temperature during the initial cook. You may need to adjust the vents or add more fuel.
- Problem 2: The crust isn’t forming during the sear. Solution: Make sure the grate is hot enough before searing. Additionally, ensure that the meat is dry and well-seasoned.
- Problem 3: The meat is overcooked. Solution: Keep a close eye on the internal temperature during the initial cook, and adjust the cooking time accordingly. Remember that you can always cook the meat a bit more, but you can’t undo overcooking.
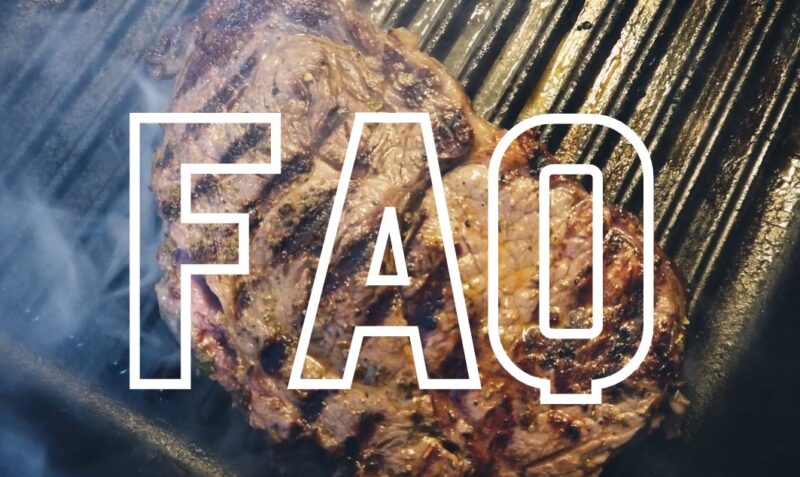
Frequently Asked Questions
1. Can I reverse sear using a gas grill?
Absolutely! The reverse sear method works just as well on gas grills as it does on charcoal grills. Just remember to set up your grill for indirect cooking and maintain consistent temperatures throughout the process.
2. Can I reverse-sear thinner cuts of meat?
While it’s possible to do it with thinner cuts, the technique truly shines with thicker cuts. Thinner slices tend to cook more quickly, and the risk of overcooking them is higher. For cuts less than 1.5 inches thick, consider using a traditional grilling method.
3. Can I reverse-sear other types of meat, like pork or chicken?
Yes, it works well with other types of meat, including pork chops and chicken. The key is to adjust the target internal temperatures based on the type of meat you’re cooking. For example, you’ll want to aim for an internal temperature of 145°F (63°C) for pork and 165°F (74°C) for chicken.
4. How can I add more flavor to my meat while reverse searing?
Experiment with different seasonings, rubs, and marinades to elevate the flavor of your meat. Additionally, you can try using flavored wood chips or pellets to infuse smoky, aromatic notes into your dish during the initial low and slow cook.
5. Do I have to use a digital meat thermometer?
While you can attempt reverse searing without a thermometer, using one ensures that you achieve the perfect level of doneness. A digital meat thermometer takes the guesswork out of the process and helps you avoid over- or undercooking your meat.
6. Can I reverse sear on a pellet grill?
Yes, a pellet grill is an excellent choice for this. Set up your pellet grill for indirect cooking and adjust the temperature settings for the low and slow cook and the final sear, just as you would with other types of grills.
7. My meat is consistently overcooked. What am I doing wrong?
If your meat is consistently overcooked, it’s possible that your initial cook temperature is too high, or you’re searing the meat for too long. Double-check your apparatus’s temperature and try reducing the searing time. Additionally, ensure that you’re using a reliable digital meat thermometer to accurately gauge the internal temperature.
Final Thoughts and Tips
Mastering the art of reverse searing on your backyard apparatus is a skill that will surely impress your friends and family. By following the steps outlined in this blog post, you’re well on your way to creating a tender, juicy, and flavorful masterpiece. Here are a few final tips to keep in mind:
- Practice makes perfect. Don’t be discouraged if your first attempt isn’t flawless; the more you practice, the better your results will be.
- Experiment with different cuts of meat and seasonings to find your perfect combination.
- Remember that patience is key. Give your meat the time it needs to cook low and slow and don’t forget to let it rest before slicing.
Happy grilling!